This guide is available on Youtube!
FTPD, being developed by mtheall, is an app that allows you to transfer files to your Switch/3ds via Wi-Fi, meaning that you won’t have to remove your SD card or turn off your switch everytime you need to put something on there.
FTPD requires a local Wi-Fi connection, so both your Switch/3ds and your PC need to be connected to the same internet.
Table of Contents
Prerequisites
- A Switch/3ds with custom firmware
- A Wi-Fi connection
- FTPD (duh)
Downloading
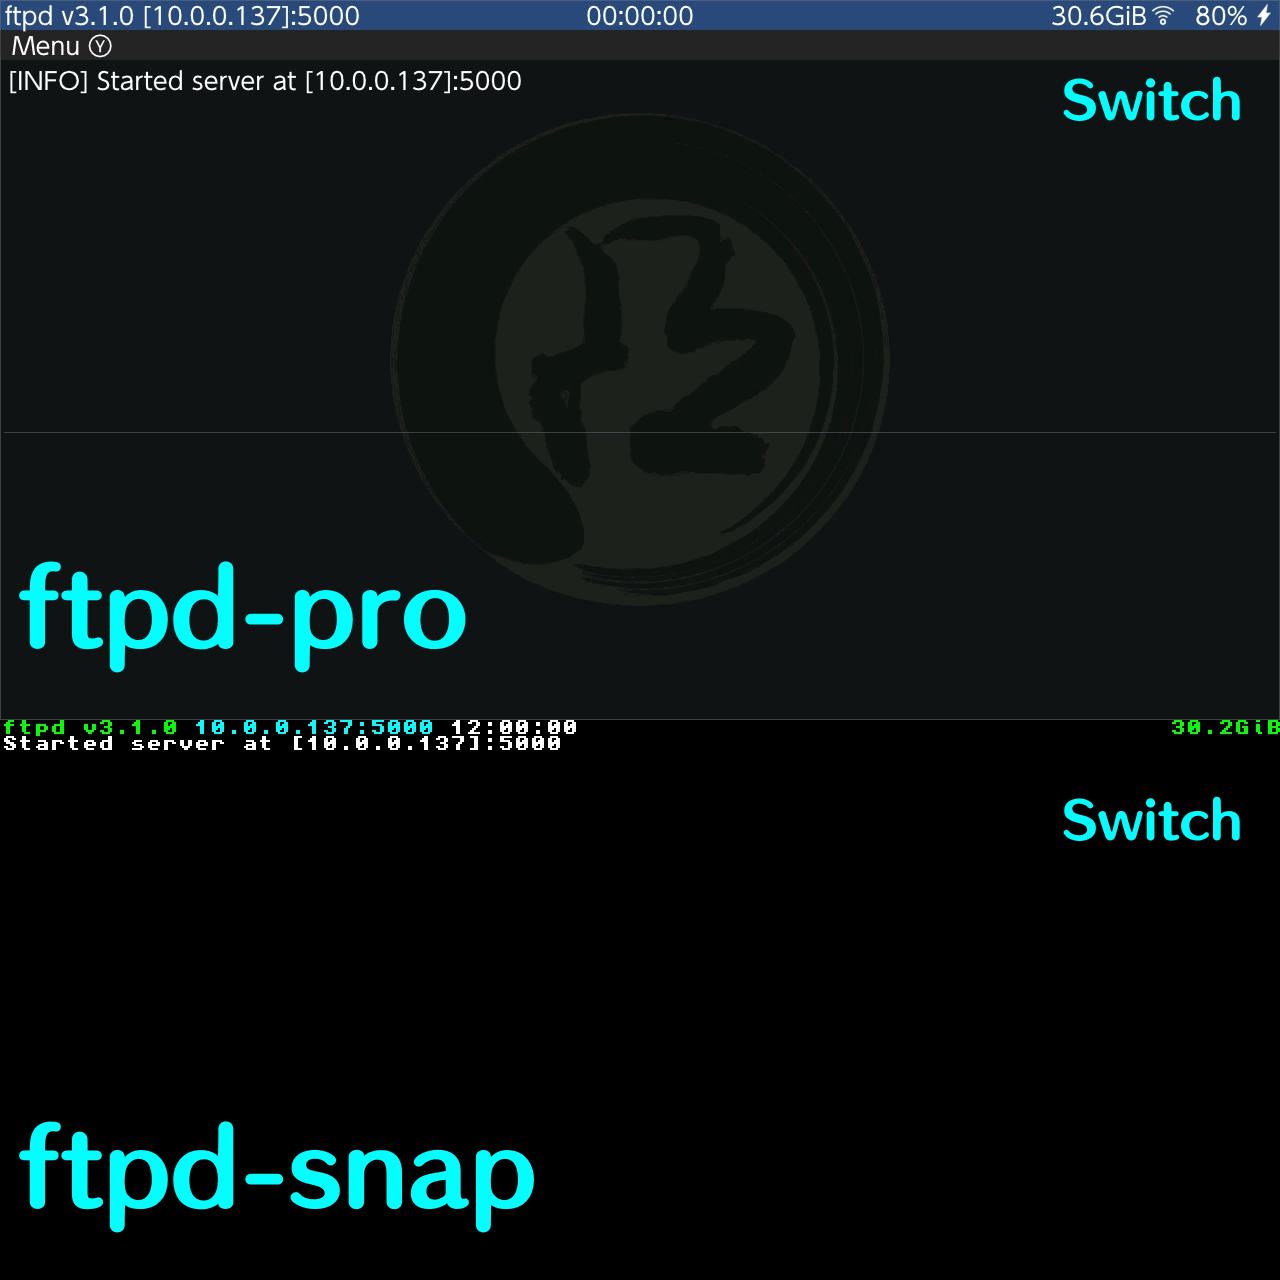
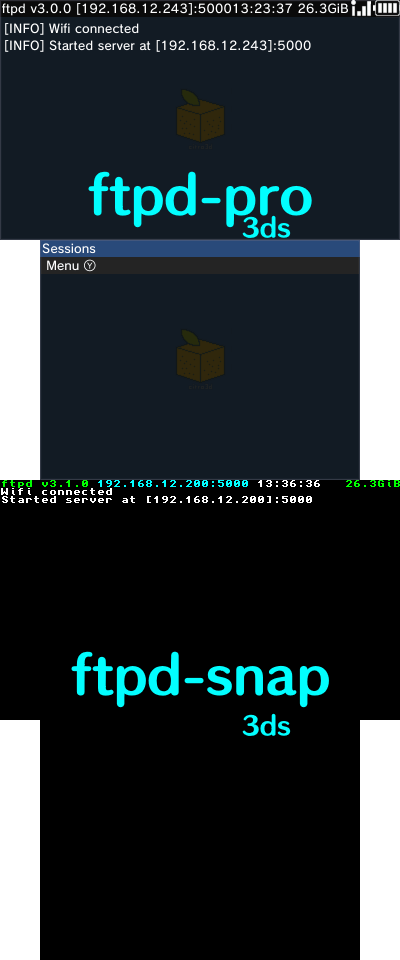
There are 2 versions of FTPD, these versions being ftpd-snap and ftpd-pro. There is no difference between them, other than the GUI. ftpd-pro uses DearImGui, making it prettier than ftpd-snap. It’s all up to you as to which you want.
Download the latest version of ftpd-classic or ftpd. The classic is ftpd-snap. Download the 3dsx or CIA if you’re on 3ds. Download the nro if you’re on Switch. At the time of writing this, the latest version is v3.1.0.
Installing
Switch
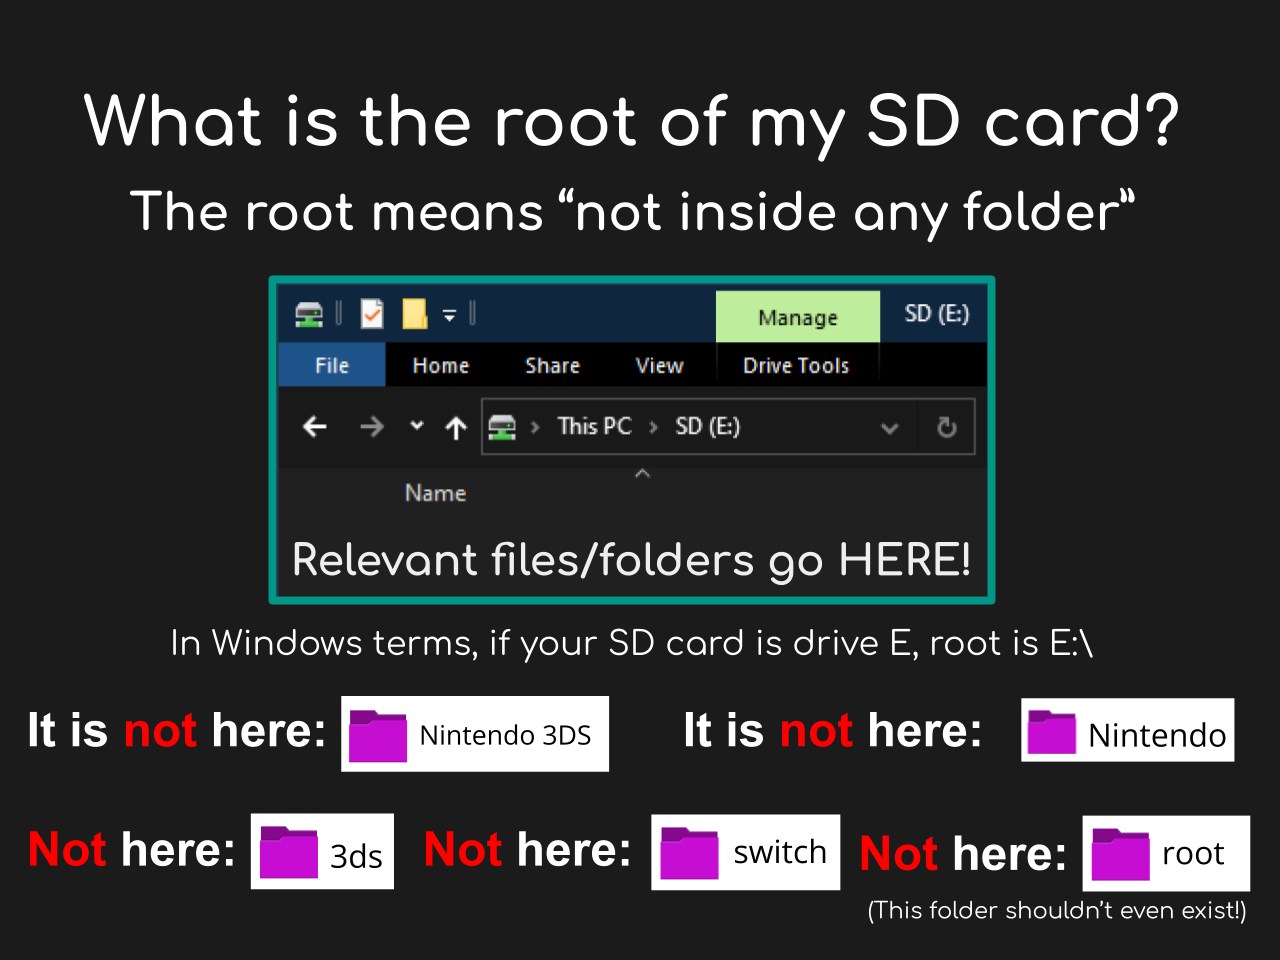
All nro files go in the switch folder on root. Then to open it, you can open the homebrew launcher and select FTPD. If you do not have the folder (for whatever reason) create it.
3ds
If you’re on 3ds, you should already know where to put the file. However, incase you forgot, here’s a recap. All 3dsx files go in your 3ds folder on root. If you do not have the folder, create it. Then to open it, you open the homebrew launcher and select FTPD.
If you want it to show on the home screen however, you can instead install the CIA through FBI. To do this, put the ftpd-(classic).cia in the cia or cias folder on root. If you do not have the folder, create it. After putting the file in there, open FBI, navigate to “cias”. Select <current directory>, select the “Install and delete all CIAs” option, then press (A) to confirm. On the home screen, you’ll see ftpd or ftpd snap, depending on which you chose. If you do not, try restarting your device or reinstalling the CIA.
Using
The use process would be the same for both 3ds and Switch. You’ll see your IP address for the device at the top, along with the port. The connection process should be the same if your file manager has a search bar, or if you’re using an FTP client like Filezilla. Type in ftp://<ip-address>:5000. In my case, on Switch, this would be ftp://10.0.0.137:5000. It will then show me my Switch’s files, and I can copy files to/from with no problem. When performing any actions, you will see a log of them on FTPD. You can scroll through this log to see the actions you have committed, but I am not sure if you can save these logs.
When copying files, do NOT drag and drop folders or files. Instead, copy them with CTRL + C, and paste them with CTRL + V. Dragging and dropping can lead to deletion of the file/folder itself. If you believe the transfer process has completed, but it is not showing in your application, refresh by clicking the Refresh button, or pressing f5.
Troubleshooting
Not Connecting
Double check that you’ve entered in your IP address correctly, along with ftp:// before it, and :5000 after it. Your PC and Switch/3ds need to be connected to the same network, so make sure that they are. Please also make sure that you have actually opened FTPD on your 3ds/Switch, as if it’s not, it will not be open for FTP requests.
If this annoys you, you can use sys-ftpd-light, which runs in the background. It might have problems with sys-botbase though, so remove it if you have any issues after installing.
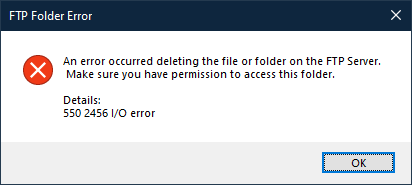
550 I/O Error
You might get a 550 I/O error when a file is set to read only, or when its archive bit is set.
If the archive bit is set, then boot into Hekate. Once here, go to the Tools tab, select Arch Bit • RCM • Touch • Pkg1/2 in the bottom right, then fix archive bit. If 0 are set or unset, then the file or folder is in read only mode.
If it is set to read only, then you’ll have to connect your SD card to your computer, and change the permissions of the file/folder you want to change. On Windows, this is as simple as right-clicking the file/folder, selecting properties, then unchecking read only.