This guide is available on Youtube!
Using an emulator for any game can be useful. You might emulate to upscale your game to 4k, or you might use it as creating/loading mods is easier on it.
There are 2 emulators for the Switch, these being yuzu and Ryujinx. Both have their pros and cons. They also require you to have a modded switch, so follow my guide here if it’s not modded already.
Table of Contents
yuzu doesn’t require you to have a top end device, so it’s more compatible with lower end computers. Conversely, Ryujinx is more CPU intensive. The yuzu team have improved ACNH compatibility to remove previous graphical issues (like fog appearing black), but LayeredFS is barely supported. If any LayeredFS mods are loaded for ACNH with yuzu, it can then take anywhere from 10 minutes to 10 hours for it to load. Sometimes, it just won’t. Why is explained here. Ryujinx doesn’t have these problems.
It should also be noted that neither currently support macOS, so if you’re on a mac system you’ll have to install Windows or Linux on it.
| Emulator | Description | Compatability | Recommended? | Download |
|---|---|---|---|---|
| Ryujinx | More accurate and less hacky, but at the cost of performance. More CPU intensive. | Supports Windows and Linux. macOS support planned. No visual errors. Supports LayeredFS mods. |
✔️ | https://ryujinx.org/download |
| yuzu | Better performance, good compatibility with lower end devices. | Supports Windows and Linux. macOS support planned. Fixed previous graphical issues. Supports LayeredFS mods, however load times are incredibly long. |
❌ | https://yuzu-emu.org/downloads/ |
a lot of information was taken from the yuzu and ryujinx guides
Minimum and Recommended Specs
The specifications here don’t guarantee BEAUTIFUL full speed gameplay, but instead they layout a cost effective recommendation while still taking into account the performance
| CPU | GPU | RAM | |
|---|---|---|---|
| Minimum | Intel Core i5-4430 / AMD Ryzen 3 1200 | Intel HD Graphics 520 / NVIDIA GeForce GT 1030 2GB / AMD Radeon R7 240 2GB | 8GB |
| Recommended | Intel Core i5-10400 / AMD Ryzen 5 3600 | Intel UHD Graphics 630 / NVIDIA GeForce GTX 1650 4GB / AMD Radeon RX Vega 56 8GB | 16GB |
Notes:
Your GPU must support OpenGL 4.6 & OpenGL Compatibility profile, or Vulkan 1.1 (or higher). To find out if your GPU meets these requirements, visit https://opengl.gpuinfo.org or https://vulkan.gpuinfo.org and check your GPU details.
For Reference, I am using an AMD Ryzen 7 5800X CPU, with an RX 6600XT GPU, and 32GB of ram. Even though a minimum is provided, that does not necessarily mean the minimum for 60fps gameplay. Moreso that the app doesn’t crash. If you’re building your PC specifically for emulation, strive a bit higher than the recommendedbut not higher than me so i can brag about my cool pc.
Prerequisites
- Lockpick_RCM (Download
Lockpick_RCM.bin) - nxdumptool (Download
nxdumptool.nro) - nxDumpFuse
- TegraExplorer (Download
TegraExplorer.bin)
Insert your SD card into your computer, or open up FTPD.
Drag Lockpick_RCM.bin and TegraExplorer.bin into the /bootloader/payloads/ folder. Then drag nxdumptool.nro into the /switch/ folder.
Dumping System Firmware (optional)
Some games, like MK8 Deluxe, need the system firmware to be played. If your game doesn’t need the system firmware, like ACNH, then you can skip this step. If you’re gonna be using Ryujinx though, the system firmware is required no matter what game you play.
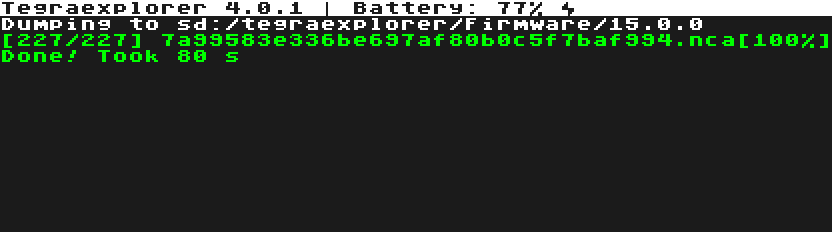
Boot into Hekate, then tap on Payloads. Click on TegraExplorer in the list. And once it’s booted, select FirmwareDump.te. Select the Dump sysmmc option. Once the dumping process is finished, press any button to return, and then select Reboot to bootloader/update.bin, which should take you back to Hekate.
Dumping Keys
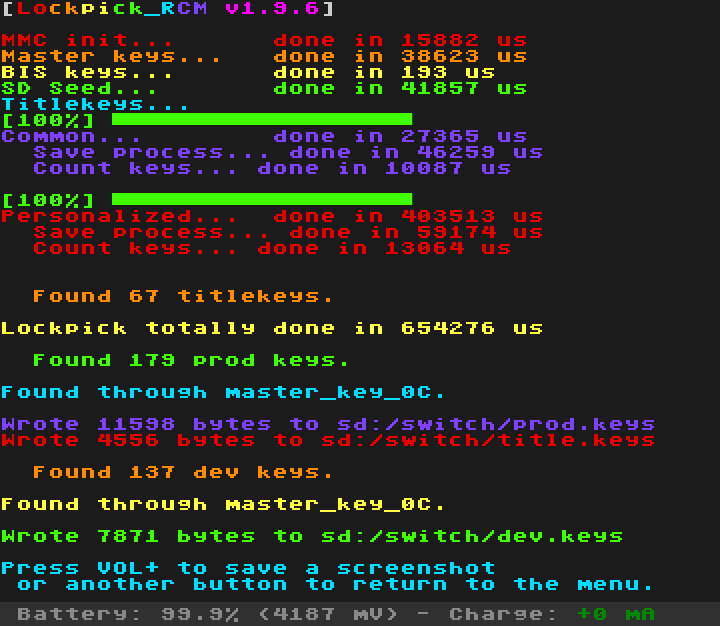
Boot into Hekate, then tap on Payloads. Click on Lockpick in the list. And once it’s booted, select “Dump from SysNAND” by pressing the power button. You’ll see some flashy colors and a confirmation that the keys were written to where they needed to be. Press the power button again to return to the menu, then navigate to Reboot to Hekate. Now boot CFW, and launch any game via title takeover (opening the game while holding R). It’s better to launch homebrew apps this way, as it gives them full system resources. When the homebrew launcher opens, navigate to nxdumptool.
Dumping Game
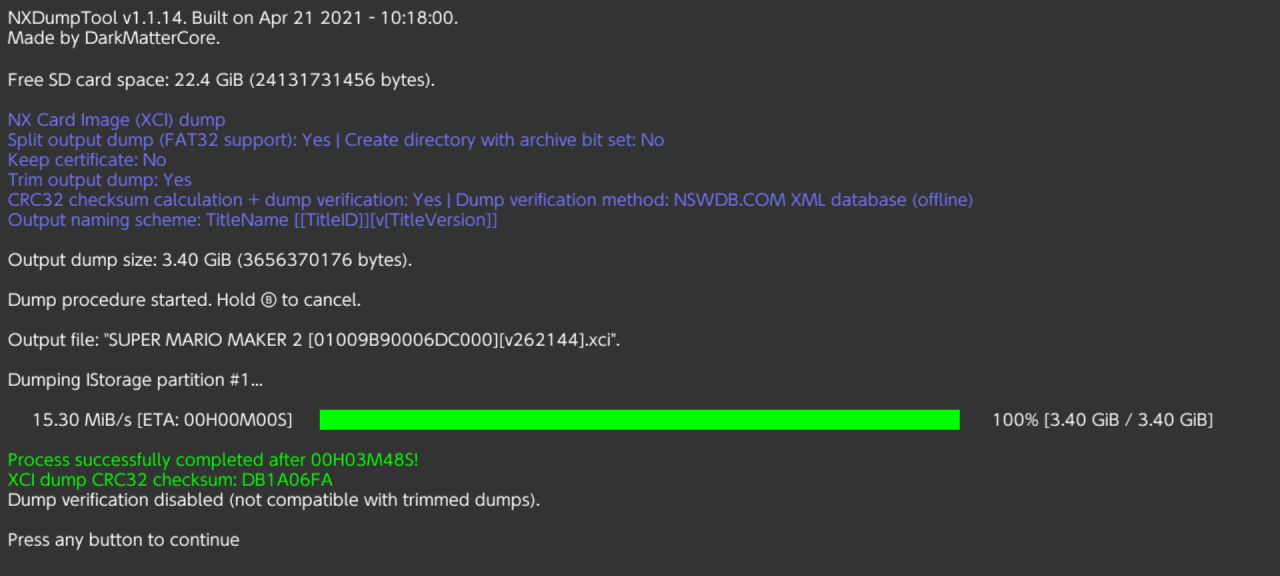
Here, the process differs a bit if you own the game physically instead of digitally. Press “Dump gamecard content” if you do own it physically, otherwise press “Dump installed SD card / eMMC content”. Select the game. If you have physical game, choose the XCI dump, and if you’re dumping an eShop game choose NSP dump.
If it’s available to you, dump the base app and update/DLC. The option won’t show if you don’t have any available updates/DLC’s. Make sure Split output dump is also selected, and you can trim the output dump if you need the extra space. Now select Start XCI/NSP dump process and wait for it to finish. How long it takes depends on your SD card speed. And now, your game is dumped!
Moving files to PC
Insert your SD card into your computer, or open up FTPD. OR reboot to Hekate, go to Tools > USB Tools > SD Card, then insert USB cable to pc.
Your firmware dump will be in /tegraexplorer/Firmware/<FW version>, your keys in /switch/, and your game dump in /switch/nxdumptool/NSP or XCI.
Copy your firmware dump, your keys, and your game dump to your PC.
Merging Dumped Game
If your game was dumped in parts (<Game>.xc0, <Game>.xc1) use nxDumpFuse to merge the files into one part. If it was dumped as one file (<Game.xci> or <Game>.nsp) then you can skip this section.
Extract the nxDumpFuse.zip that you downloaded earlier, and open the nxDumpFuse.exe. If your antivirus goes off, it’s a false positive because of how the merging happens. You’re safe to allow it on your device.
Set the input to one of the parts and it should auto-detect rest. Next, set the output folder. Select Merge Dump and the app will merge the files into one at the output folder. If you had multiple games dumped into parts like this, repeat the process for the rest.
yuzu Setup
Install yuzu here. yuzu on Windows requires the latest version of Microsoft Visual C++, which you will also have to install if you don’t have already.
If you’re on Linux, you can download the AppImage or Flatpak version of yuzu.
Open yuzu, and on first boot you should get an error that you haven’t installed your keys yet.
You’ll have to go to File > Open yuzu Folder, and it should take you to %appdata%\yuzu on Windows, or equivalent on Linux. Create a new folder here, called keys, and drag your prod.keys and title.keys into it.
For your firmware, you want to copy all of the .nca files to %appdata%\yuzu\nand\system\Contents\registered. You’ll have to create the folders if they don’t exist already.
Now, double-click the main window to add your game directory. If you dumped the update/DLC as well, go to File > Install Files to NAND... and select the update. It will install it to the main game. Once it’s done, you can double-click on any game to open.
yuzu Performance changes
If you’re getting bad performance, or want to increase the resolution. Go to Emulation > Configure....
General > General
Make sure Multicore CPU Emulation is turned on.
If you are going to mod with yuzu, make sure to have Extended memory layout (6GB DRAM) enabled. For some games, mods will use more RAM than the Switch can provide. The extra memory allows heavy mods like that to work w/o issue.
CPU
It’s recommended to leave the accuracy on Auto, but if you’re on a lower-end system and want to trade accuracy with speed, set accuracy to Unsafe. Check everything under Unsafe CPU Optimization Settings.
Graphics > Graphics
If you’re on AMD, you will get a significant performance boost if your graphics API is set to Vulkan.
If you’re on NVD, you will get a significant performance boost if your graphics API is set to OpenGL.
If you’re on INT, test and see which works better for you.
Make sure to enable Use disk pipeline cache
And Use asynchronous GPU emulation
And Accelerate ASTC texture decoding
In this panel, you can also change the fullscreen mode, aspect ratio, resolution, etc.
For the resolution, I leave mine at 2x for a good compromise between sharpness and performance.
For the Window Adapting Filter, it’s mostly up to feel, but here’s what I’d recommend depending on your use case.
FidelityFX: Use if drawing at a resolution lower than display (1440p display, game res at 1080p)
Bicubic: Use if resolution is 3x or higher
Gaussian: Use if resolution is 3x or higher (if you feel bicubic is too pixelated)
Bilinear: Use if Resolution is 1-2x
ScaleForce: Use if resolution is under 1x
Nearest Neighbor: Use if playing pixel/classic games (like Celeste)
Once again, these options are personal preferences, use them all first and decide yourself what you like best. I do recommend setting anti-aliasing to FXAA, whether or not you’re scaling.
Graphics > Advanced
Make sure to enable Use asynchronous shader building (Hack)
And Use Fast GPU Time (Hack) if you want to force all games to run at their native resolution
And anisotropic filtering to 4-8x
Ryujinx Setup
For now, follow the Ryujinx wiki while I finish this page.
Why yuzu’s LayeredFs is bad
thanks to Jess from the acmods.org wiki
Loading mods with yuzu can take anywhere from 10 minutes to 10 hours, and this is because of how yuzu attempts to load them.
This is what procmon shows when yuzu loads the game with layeredFs:
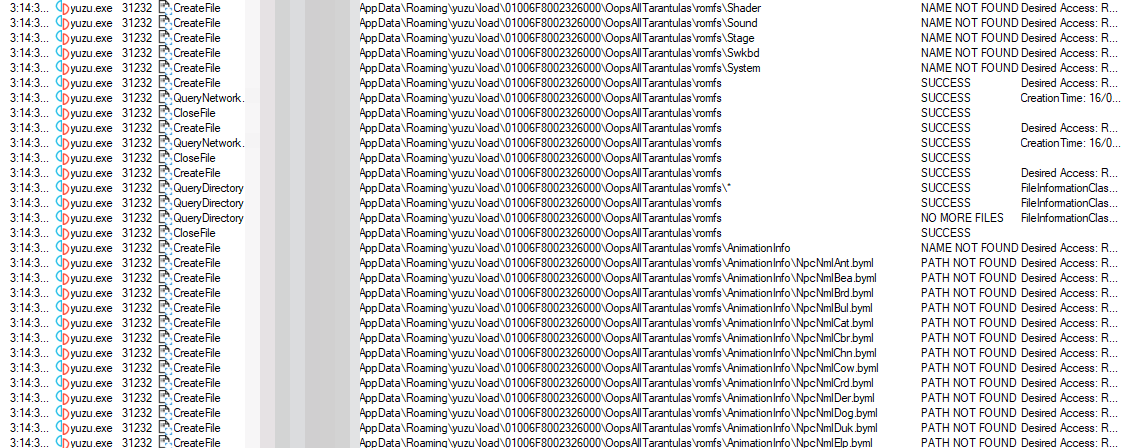
yuzu looks at the mod directory and says “Does this file exist? Does this file exist? Does this file exist?”
What it could do is look only at files that exist in the mod directory, and return false for everything else. That would make it load faster, as it wouldn’t have to check each individual file in the games romFs.